Creating a New Audit
Edit on GitHubThis page is intended for Project Leads and workspace members responsible for setting up a new audit, including establishing clear naming conventions, scheduling automated scan frequencies (Daily, Weekly, or Monthly), and managing the specific URLs or PDFs that require monitoring.
Overview of the audit builder
Use the audit builder to set up recurring audits for your workspace. Once you configure these audits, all workspace members can access them. To access the audit builder, from the main audits page, select "Add Audit." Selecting this option brings you to the "Audit Builder" page.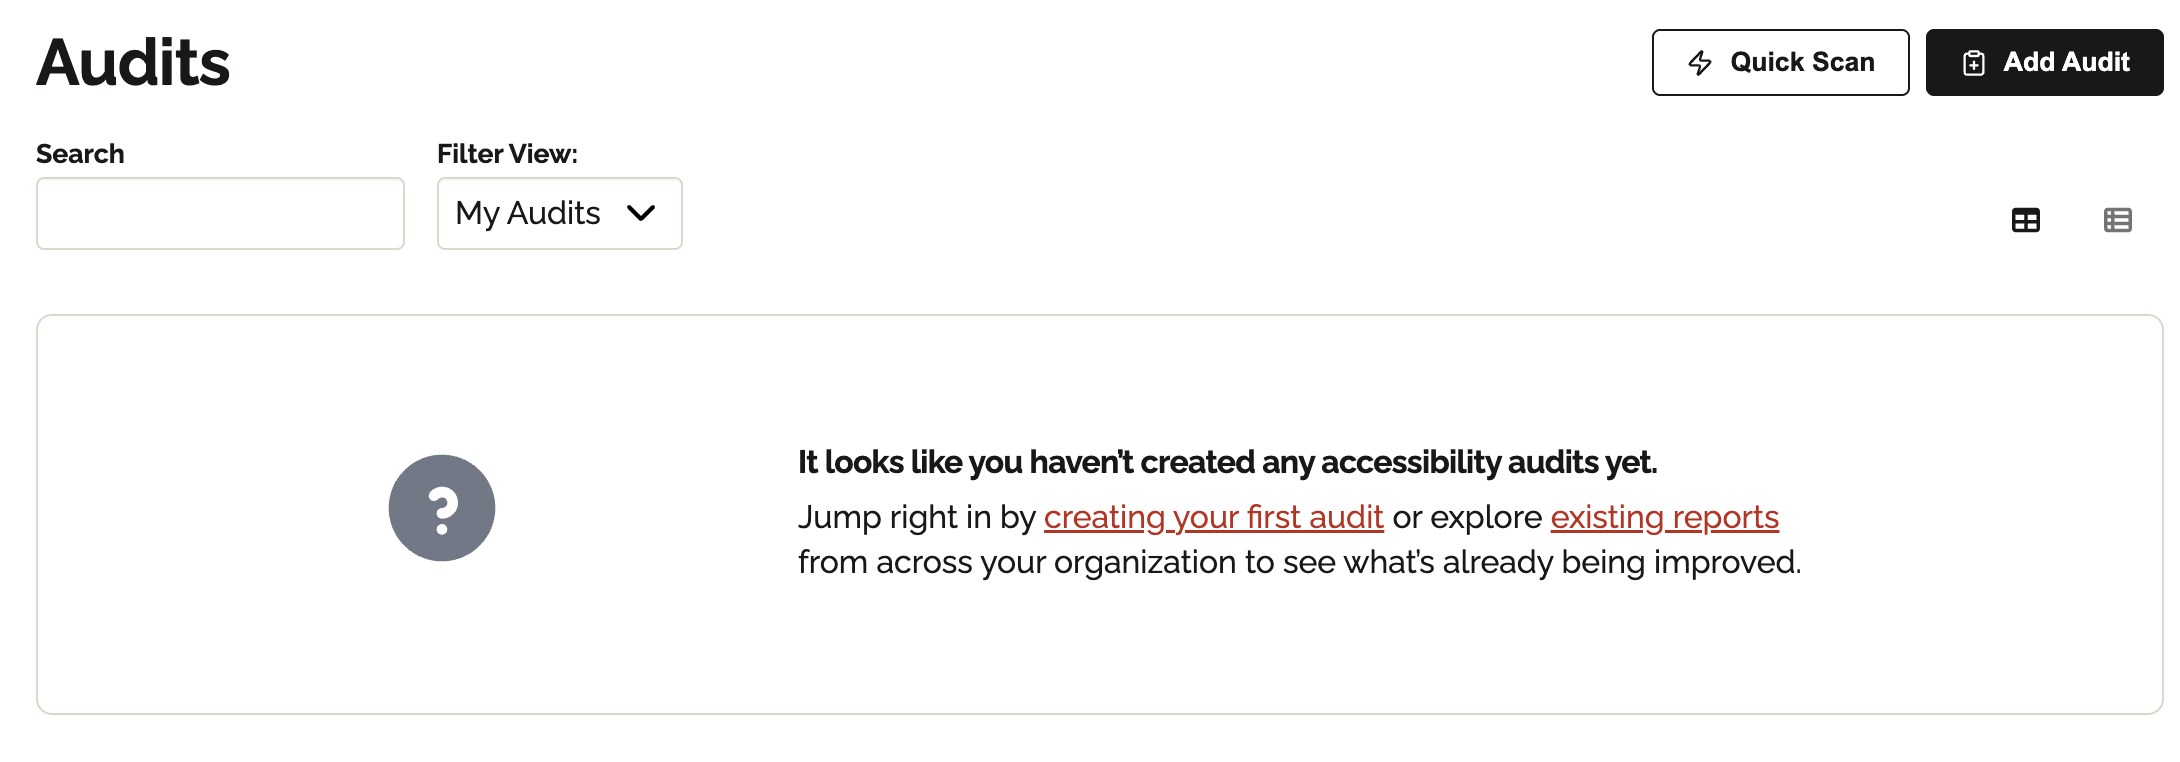
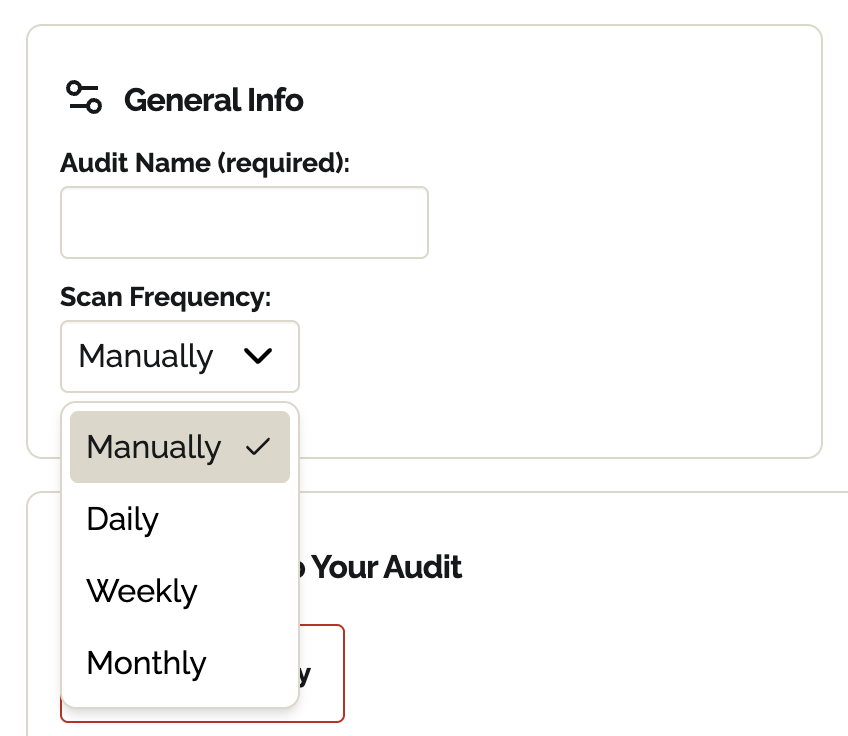
Step 1: Name your audit
When naming your audit, use clear, descriptive names that identify the scan's purpose or target, and include relevant details such as the website title or the associated department name. Acronyms can be helpful if the entire team understands what they stand for. It's also beneficial to follow a consistent naming convention to ensure easy identification and organization, and indicate if the scan includes PDFs, Websites, or both.For example: “UIC - School of Public Health - Web” or “UIC - College of Dentistry - PDFs” or “Athletics - Facilities - All”. Avoid including complete URLs or dates in the title, as the system automatically logs creation dates and URLs.
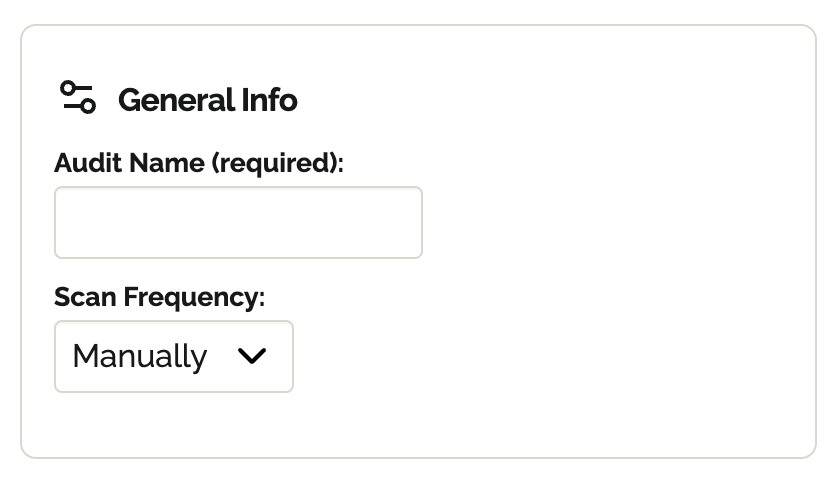
Step 2: Scan frequency/ Scheduling audits
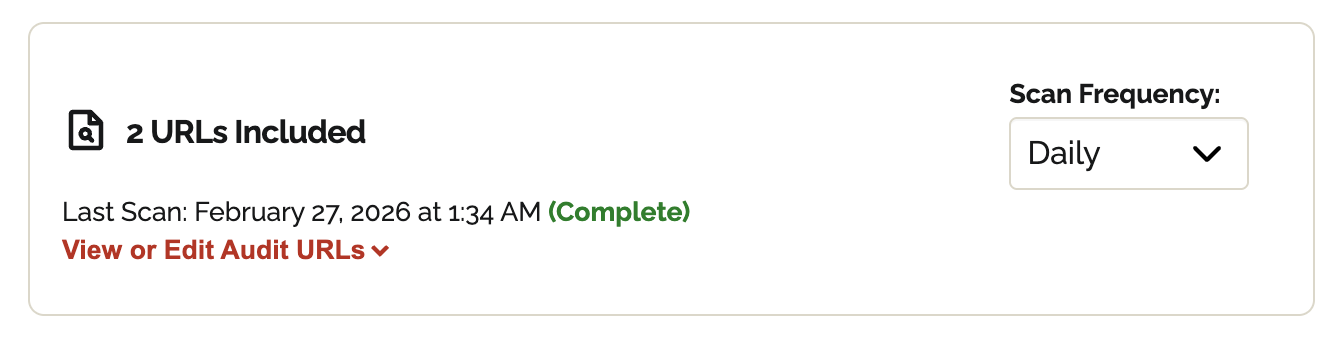
You can scan manually (default setting), Daily, Weekly, or Monthly.If your organization has no compliance or accessibility reporting requirements, we recommend setting them up monthly and running additional manual scans as your team updates an experience. Select the frequency from the dropdown you would like the audit to run.
Step 3: Email notifications
You can configure email notifications to keep yourself or your team informed about audit results.Set up notifications while creating a new audit or by editing an existing one. You can choose from the following frequency options:
- Daily
- Weekly
- Monthly
Step 4: Add URL(s) to a scan
Equalify uses a URL-based approach - you provide the specific pages and documents you want scanned. This URL-based approach gives you complete control over what's included in each audit. It ensures consistent, reproducible results every scan. You can add URLs to your audit in four ways: WordPress Integration, Site Crawl, manually, or via bulk upload.WordPress Integration
If your site runs on WordPress, the WordPress Integration tab is the easiest way to keep your audit in sync with your published content. It connects Equalify to a secure CSV feed generated by a WordPress plugin, so Equalify automatically discovers your pages, posts, and optionally PDFs.To connect your WordPress site:
- Install and activate the Equalify WordPress Integration plugin on your WordPress site.
- In your WordPress admin, go to Settings > Equalify Integration.
- Copy the CSV Feed URL shown at the top of that page.
- In the Equalify audit builder, select the WordPress Integration tab and paste the CSV Feed URL into the "CSV Feed URL" field.
- Equalify validates the feed automatically. When the feed is found, a "CSV Found!" confirmation appears and your URLs are loaded into the audit.
Site Crawl
The Site Crawl tab lets Equalify automatically discover pages on any website by reading its sitemap. This is useful when you don't manage the site in WordPress or prefer not to install a plugin.To crawl a site:
- Select the Crawl Site tab in the audit builder.
- Enter the website's URL in the "Website URL" field (e.g.,
example.com). - Select Crawl Site. Equalify reads the site's
sitemap.xmland returns all discovered URLs. - Once the crawl completes, a success message displays the number of URLs found and the discovery method used.
- Review the discovered URLs in the table. You can deselect any pages you don't want included in the audit before saving.
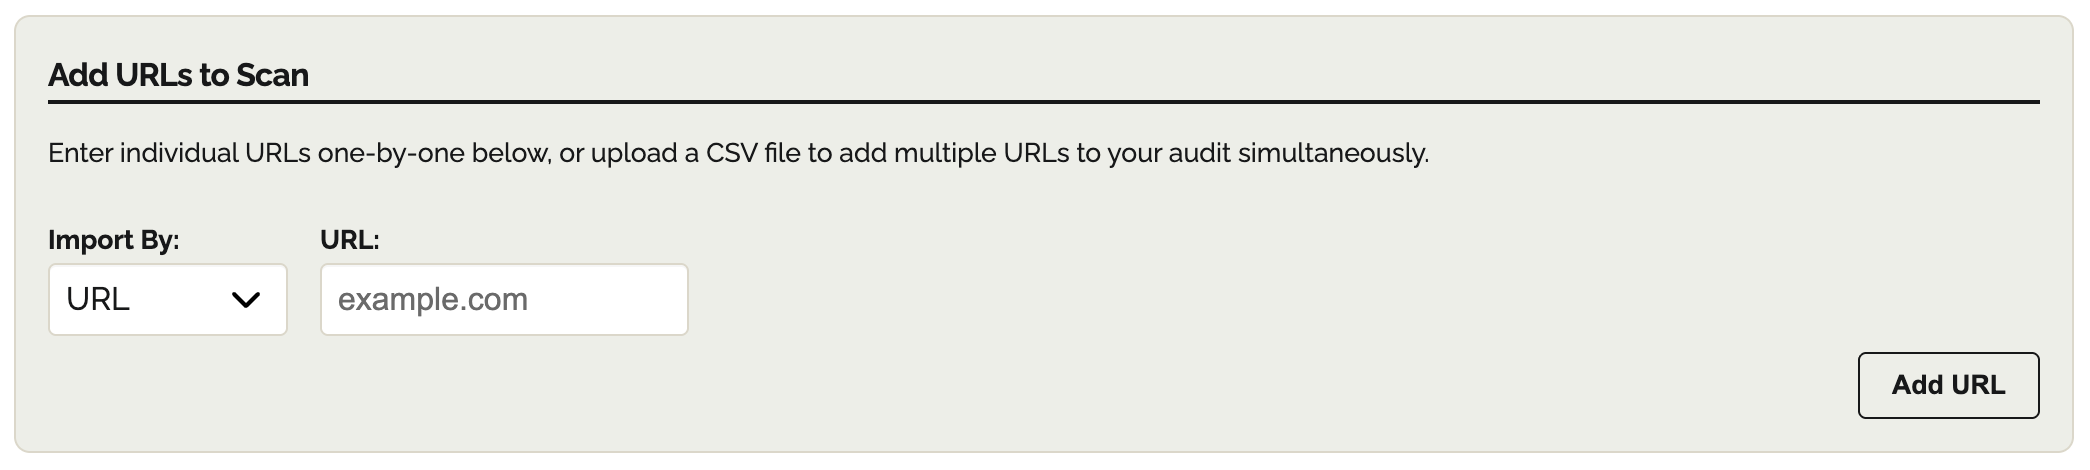
Manual entry
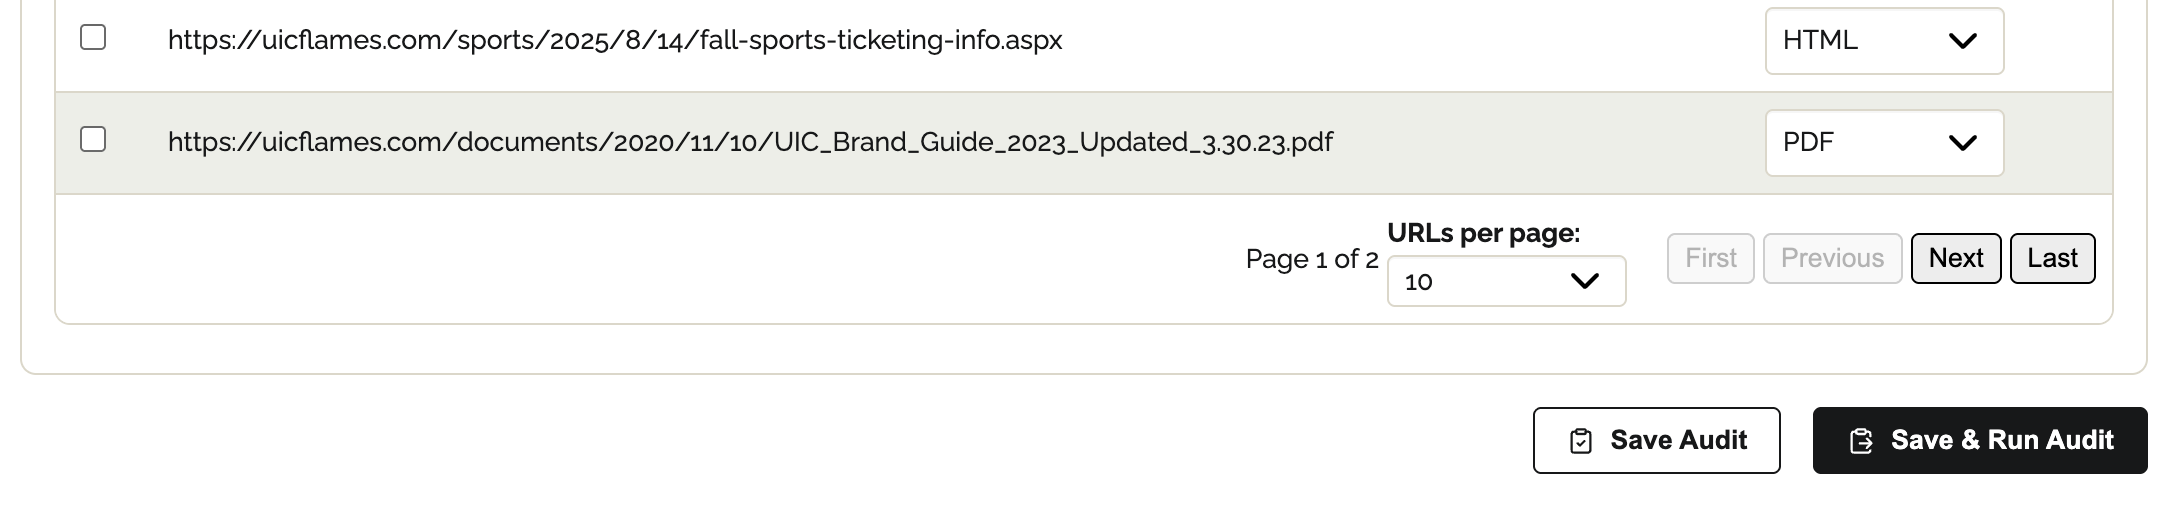
- Enter a URL into the “URL” text box (e.g., https://it.uic.edu/accessibility/), then select “Add URL”.
- Add URLs one at a time.
- Once you add in the URL, Equalify will attempt to identify the type (HTML or PDF). You can adjust this as needed.
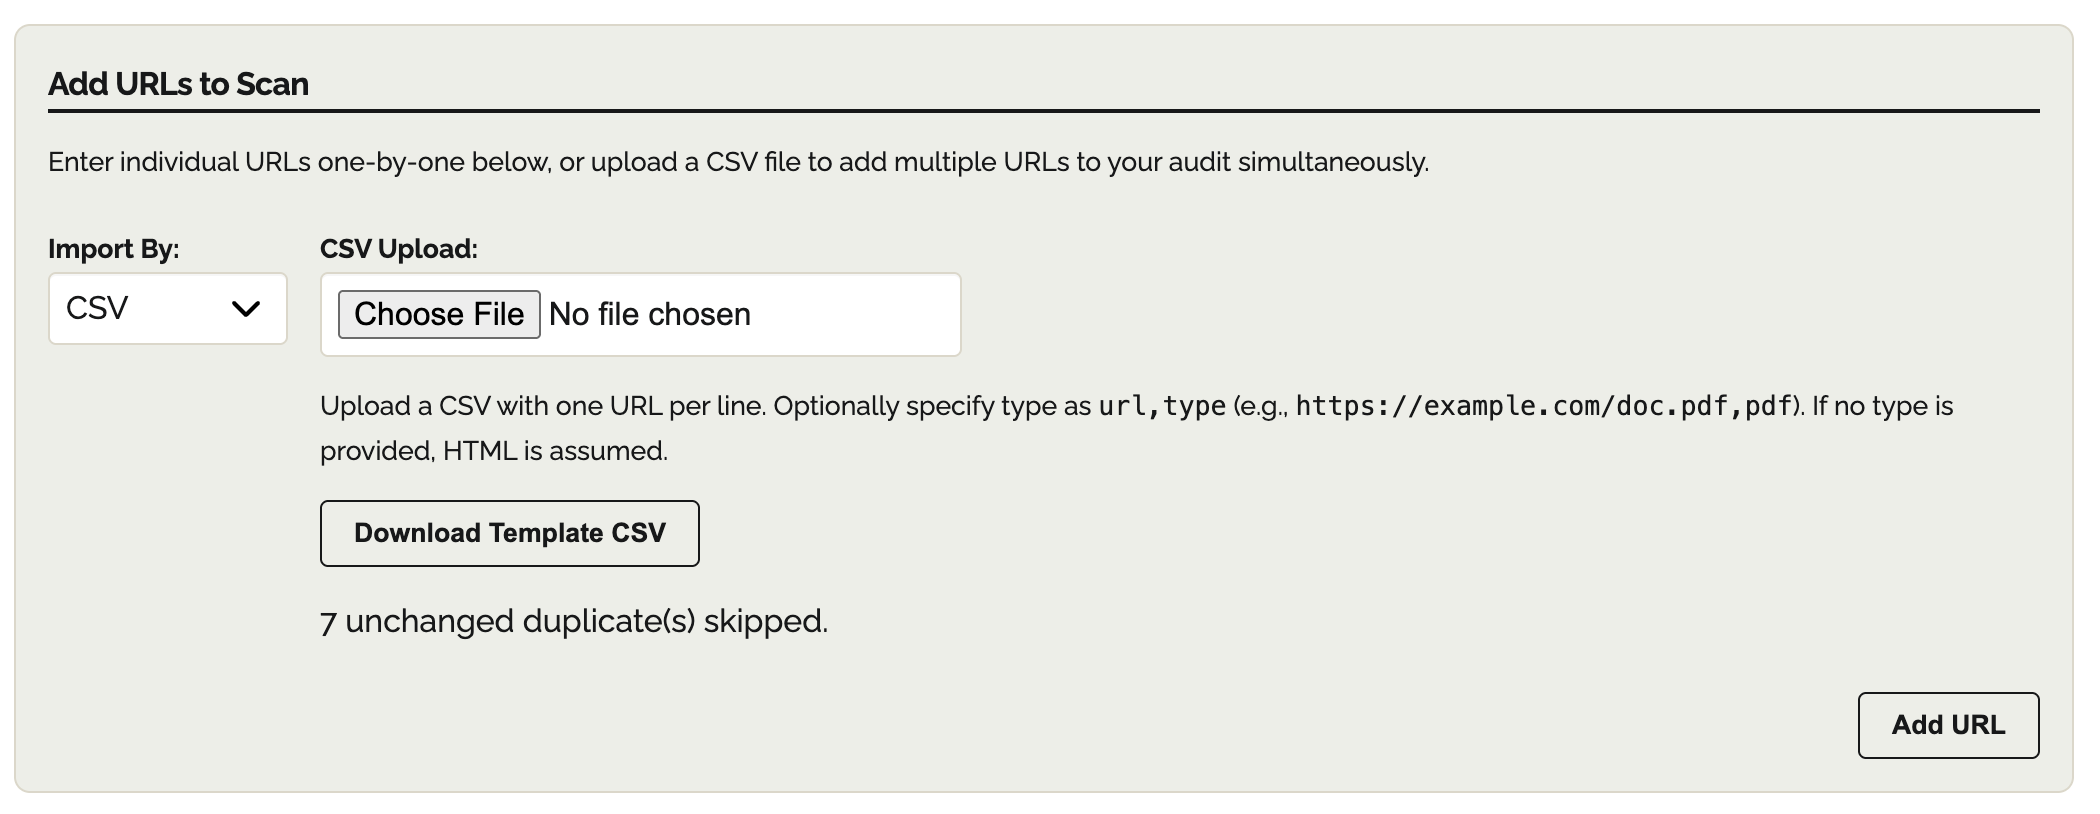
Bulk Upload (CSV)
To scan multiple documents or websites at once, use the CSV upload feature.- Begin by downloading the “Template CSV”. The CSV has two columns:
- URL: The link to the document or page.
- Type: Either PDF or HTML.
- Complete the CSV
- Ensure that every URL starts with “https://”
- Upload the completed CSV.
- Upload as many CSVs as you need; Equalify automatically skips duplicate items.
- If the type column is left blank, the system will automatically categorize the items.
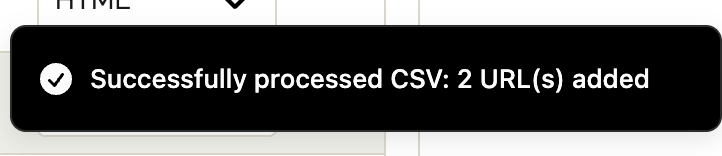
- Upon successful upload, a banner appears confirming the upload worked.
Removing URLs from a scan
Remove URLs at any time—before or after an audit runs—by selecting the URLs and clicking "Remove 1+ URLs".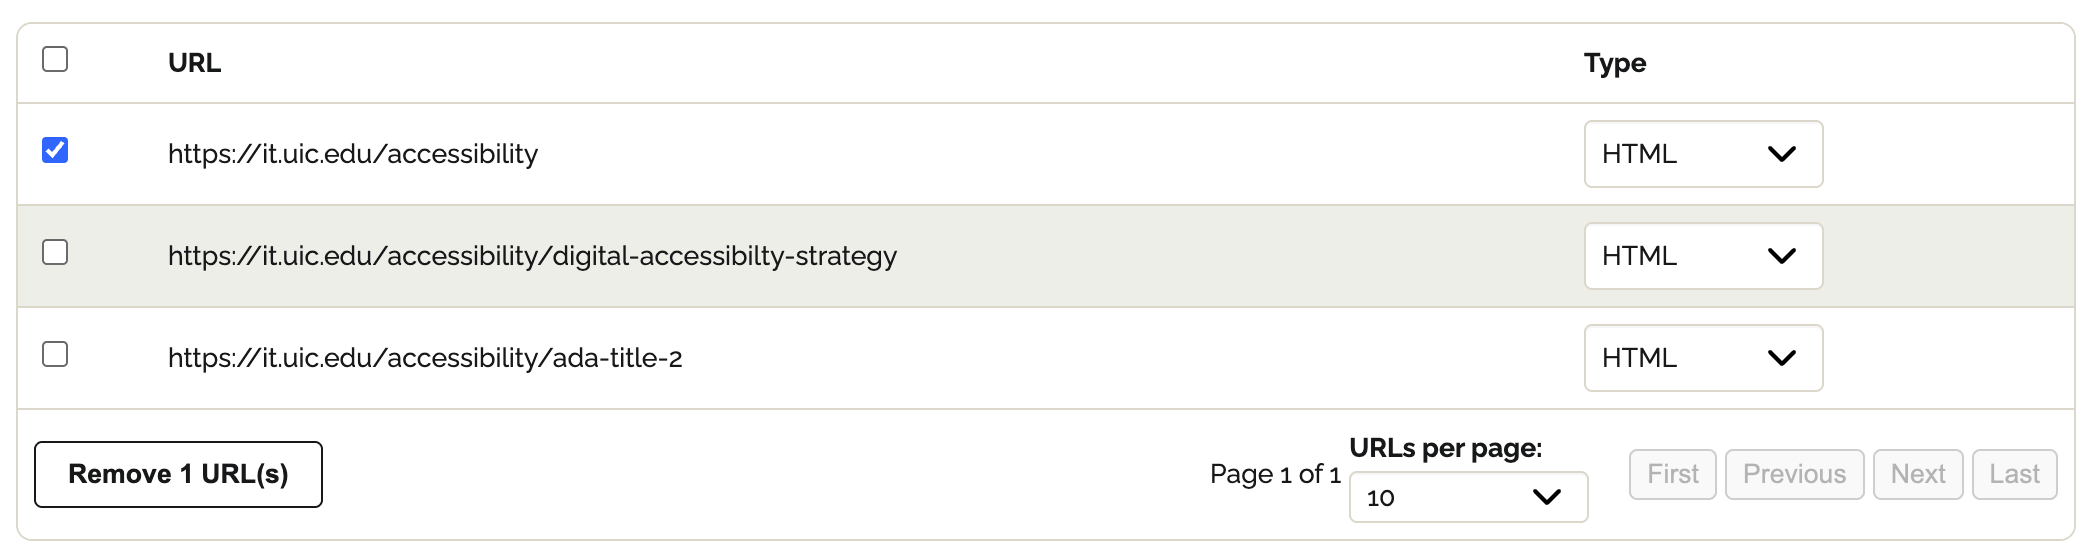
If an audit has already run, select "View or edit Audit URLs" from the dashboard.
Step 5 (Optional) Saving your audit for later
If you are ready to run your audit, proceed to “🔗 Running an Audit.”Once you add a URL, you can save your work and come back later by selecting "Save Audit" at the bottom of the page.
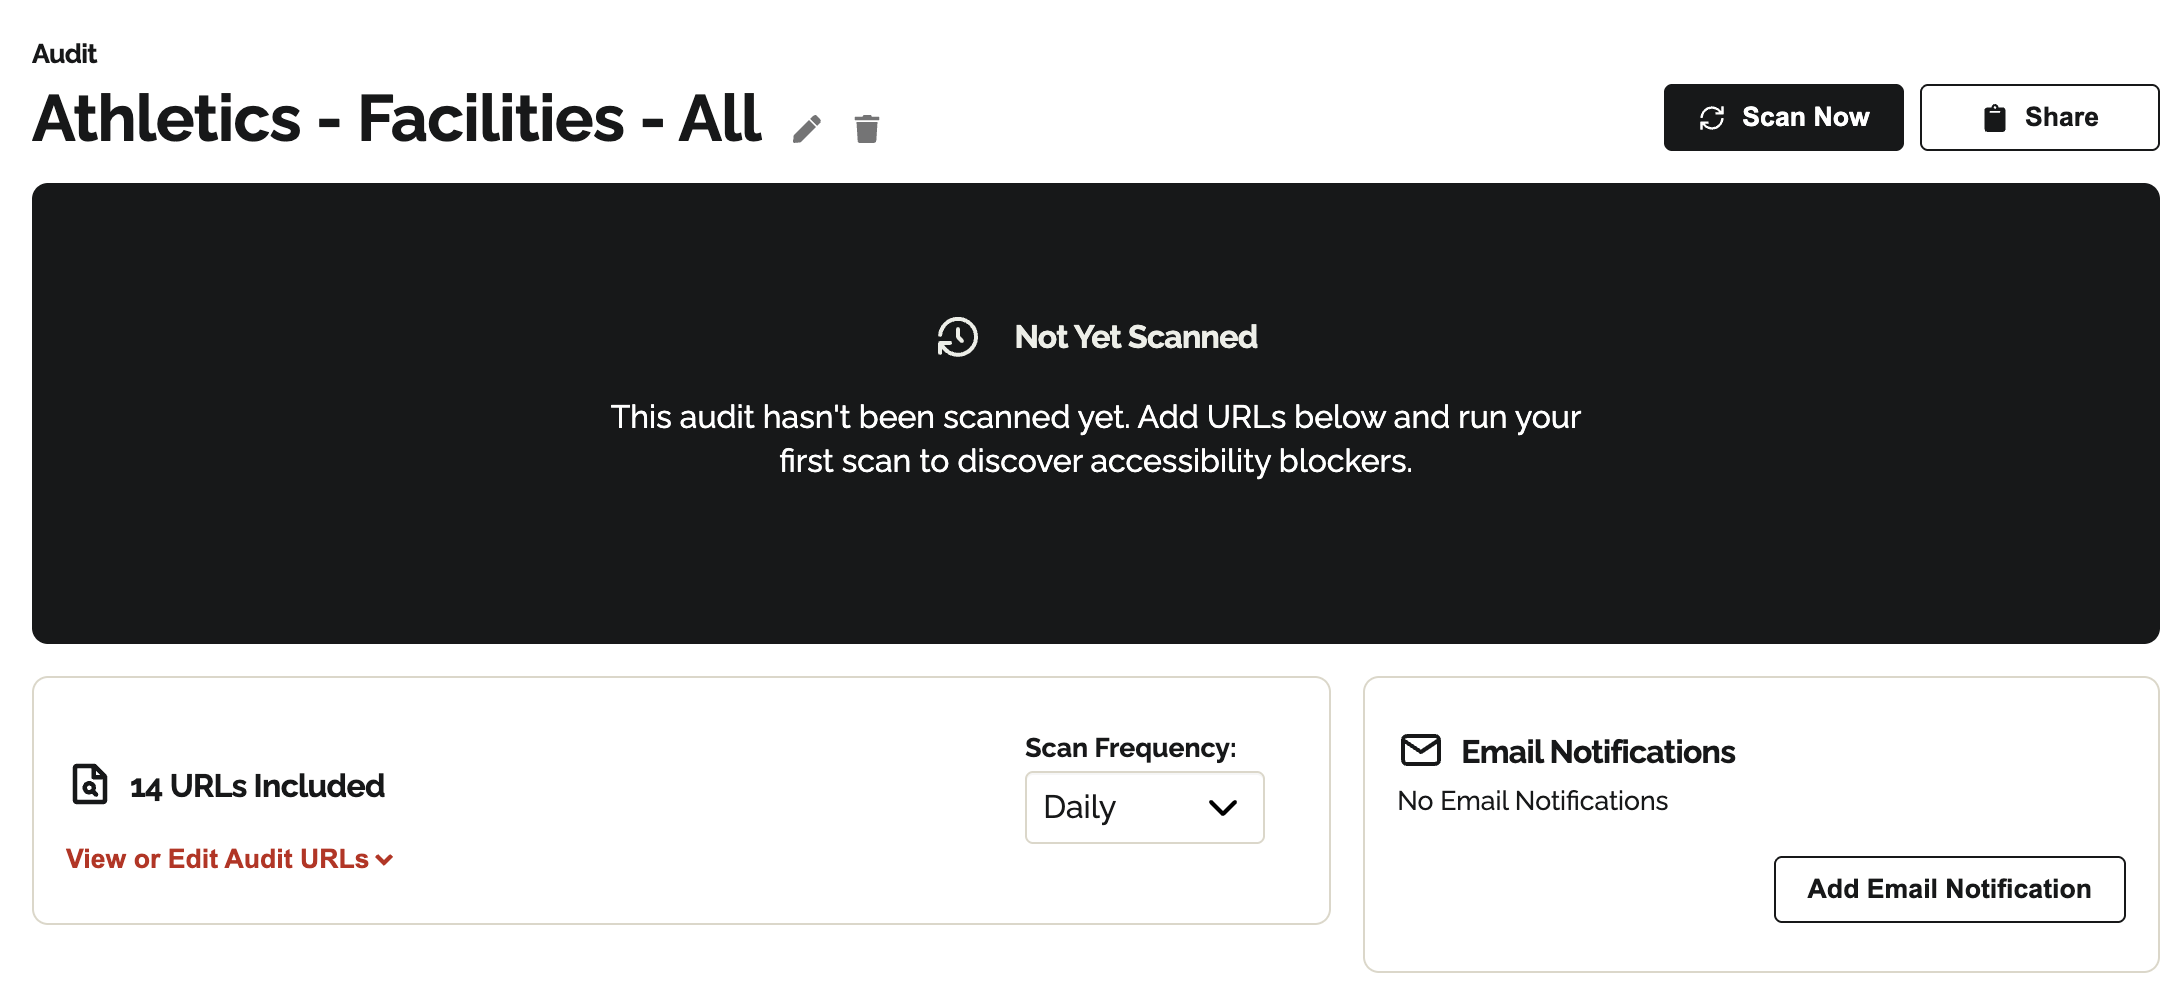
It will populate as an audit, and to make further changes to it, you must go to that audit's page. On an audit’s page, if no scans have been run yet, the chart notifies you that the Audit is “Not Yet Scanned”.