Manage User Access for Admins
Edit on GitHubThis page is intended for Administrators responsible for managing system permissions and workspace security. This section covers the stages of user management: adding new users, changing permissions, and removing accounts.
For Administrators, it helps to think of the Invites and Users sections as two different stages:
- The Invites List: People who have been asked to join but haven't logged in yet.
- The Users List: People who have already joined and are currently using Equalify.
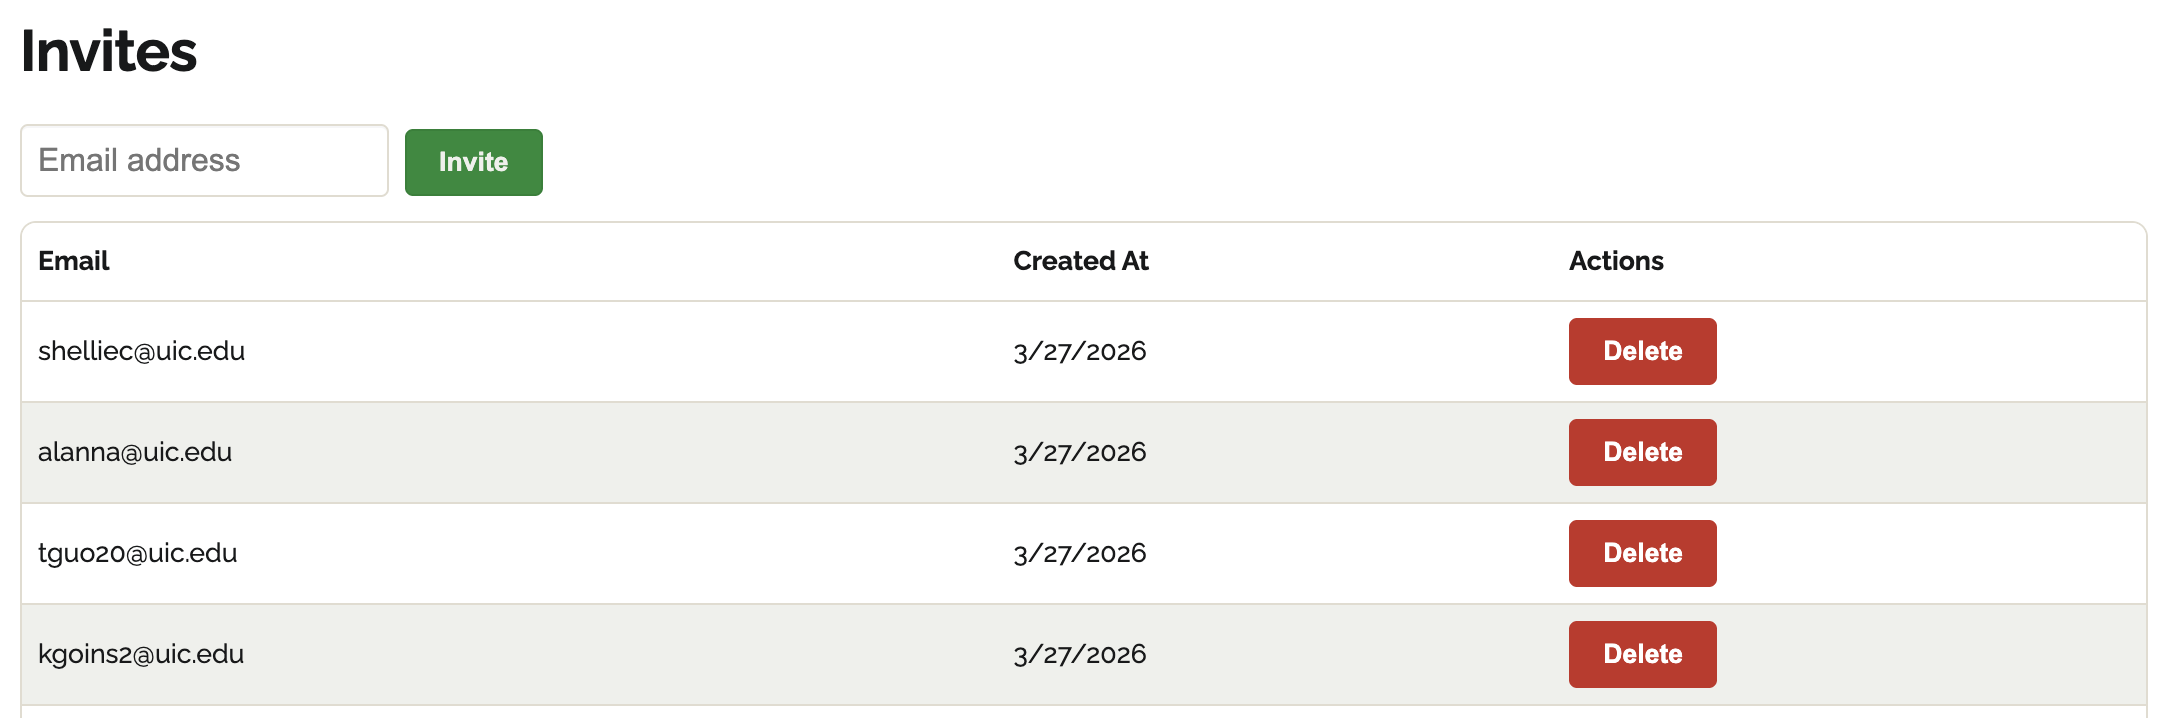
Invites
Inviting users
- Navigate to Account > Invites.
- Enter the email address of the person you want to invite.
- Click Invite.
- A success banner will confirm the action.
- The user will receive an email with a login link.

Once the invited user logs in (via SSO or another authentication method), Equalify automatically adds them to your workspace.
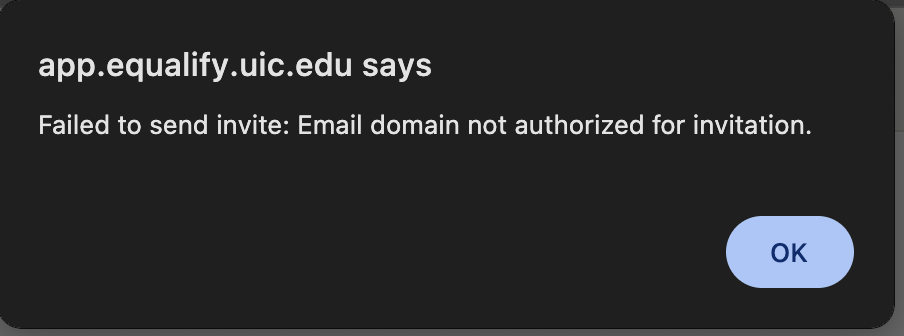
⚠️Important: If your Equalify instance uses Single Sign-On (SSO), invited users must have an email address from an authorized workspace domain (e.g., @uic.edu). If not, you will receive an error.
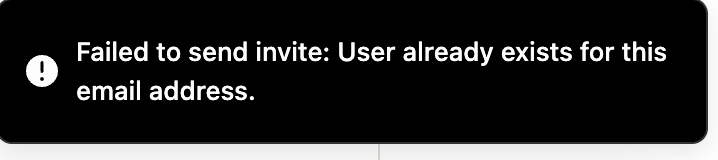
⚠️Important: If the user is already in the system, a duplicate invite will not be sent.
Deleting pending invites
User invites can be removed for any reason before a user logs in:- Navigate to Account > Invites.
- Find the email address you want to remove.
- Click Delete.
- A success banner will confirm the action.
- The link in the invitation email will no longer work.

Users
Changing user roles
You can control what a user can see or do by changing their role:- Find the person’s name in the Users list.
- Click the dropdown menu in the Type column.
- Select a new role:
- Member: Can view and contribute to content but cannot manage other users.
- Admin: Has full access, including the ability to invite or remove others.
- The change is immediate, and a confirmation will appear. No "Save" button is required. The user will see the change the next time they login to Equalify.
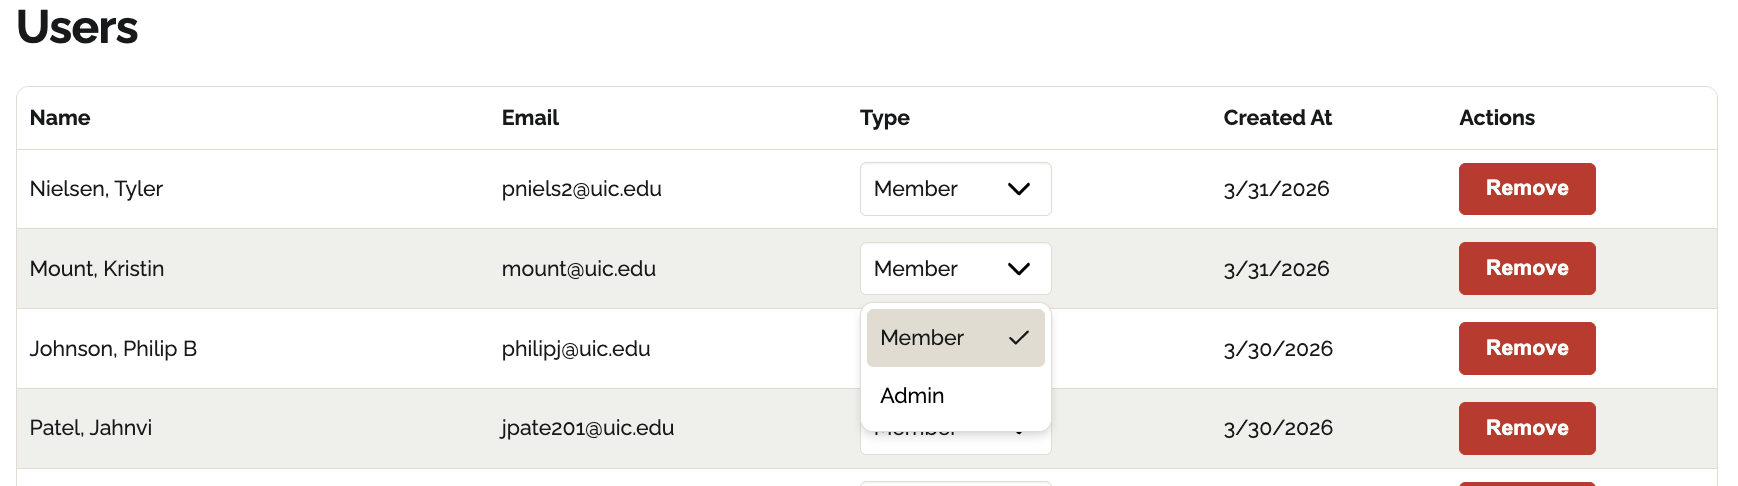

Verifying join dates
If you need to confirm when a person first accessed the system, check the Created At column. This shows the exact date they accepted their invite and established their account.
Removing a user
If a person no longer needs access to the system:- Find the user in the list.
- Click the Remove button (in red).
- A success banner will confirm the action.
- The user will be logged out and will no longer be able to access the system.